
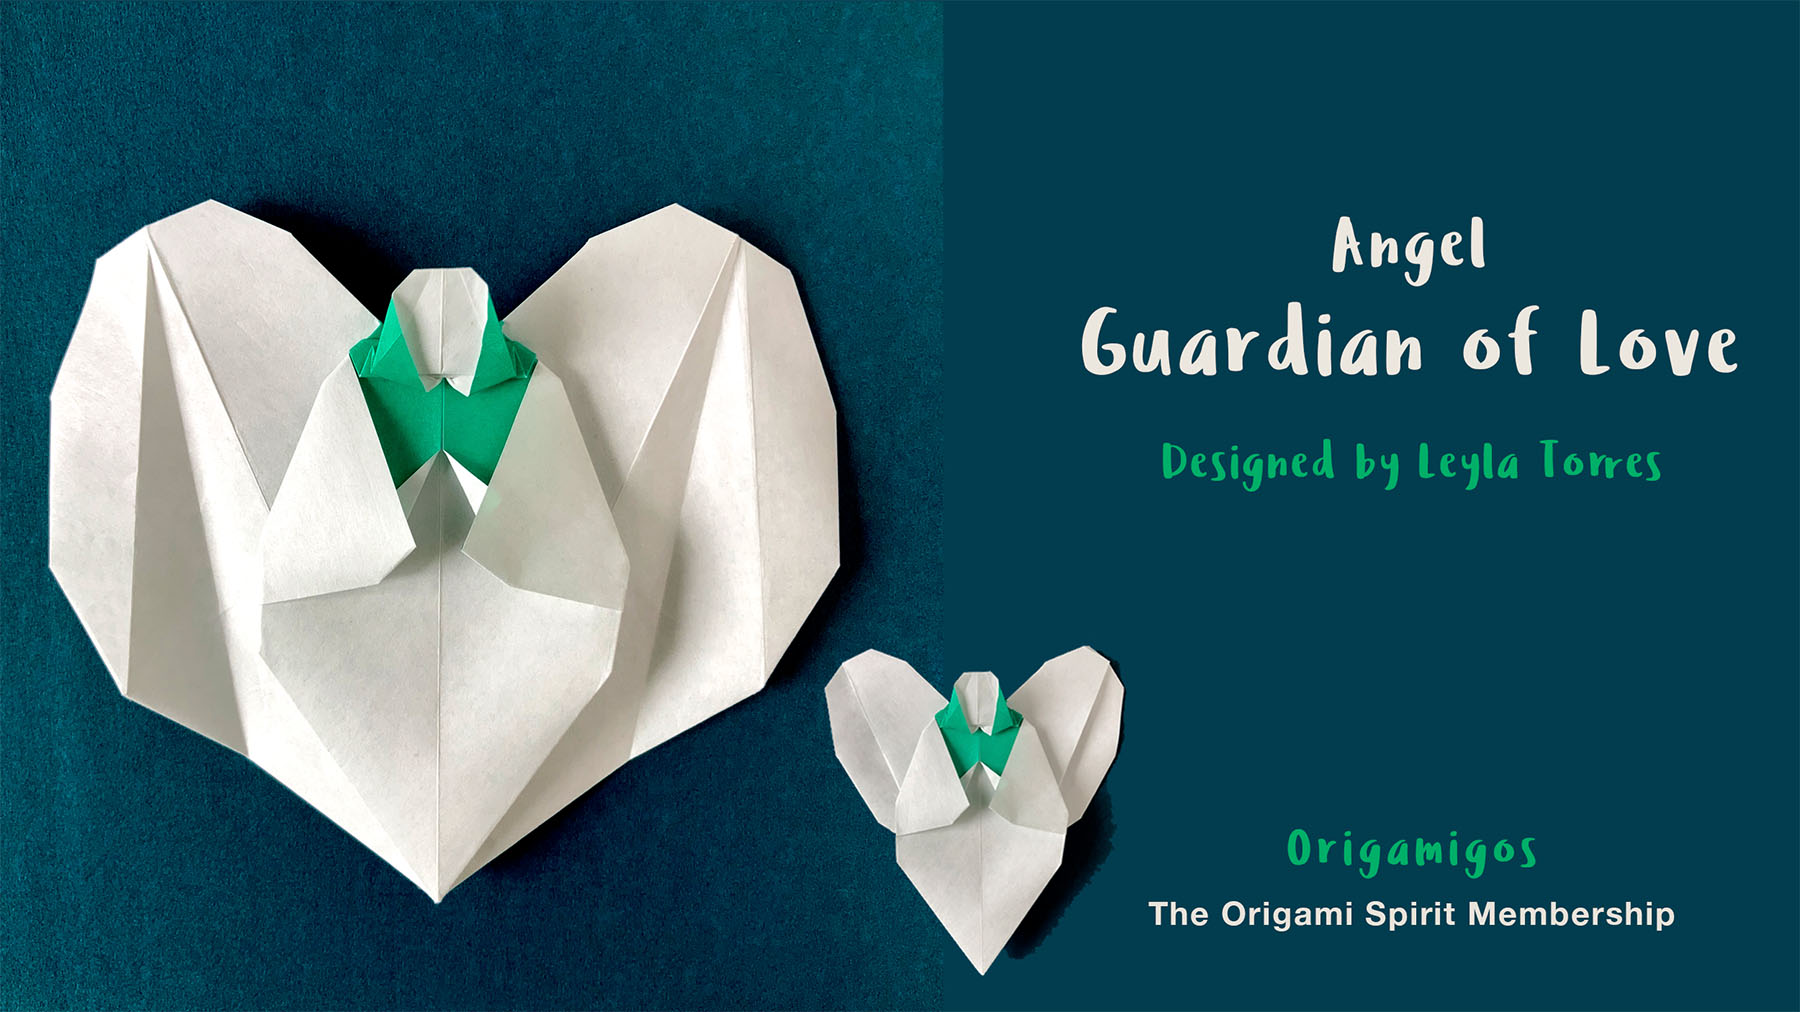
Sometimes the most meaningful creations come from combining simple concepts into something unexpectedly powerful. In this session, I’m excited to share my latest origami design: the “Guardian of Love” – an angel that carries the shape of a heart and the promise of peace.
Inspiration and Sources
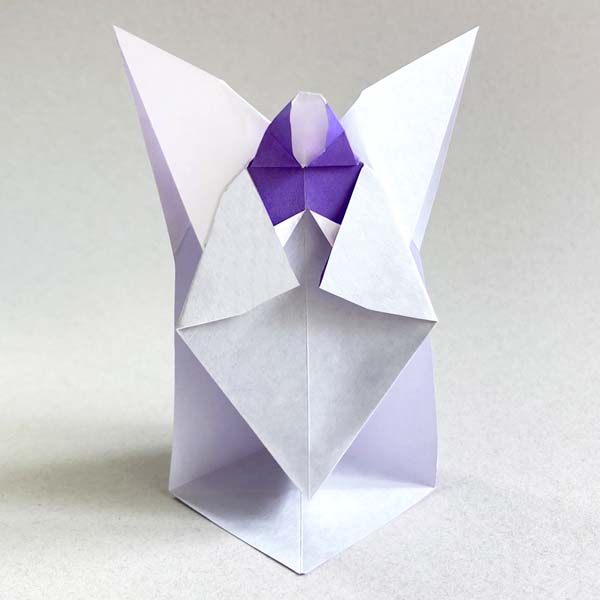
The Guardian of Love is another take on a three-dimensional model called the “Archangel,” previously presented in Origamigos. Angels represent hope, love, and the triumph of good over evil.
While the original Archangel design captured the celestial being in three dimensions, this angel is something more intimate and portable. It was born from a desire to create something people could carry with them.
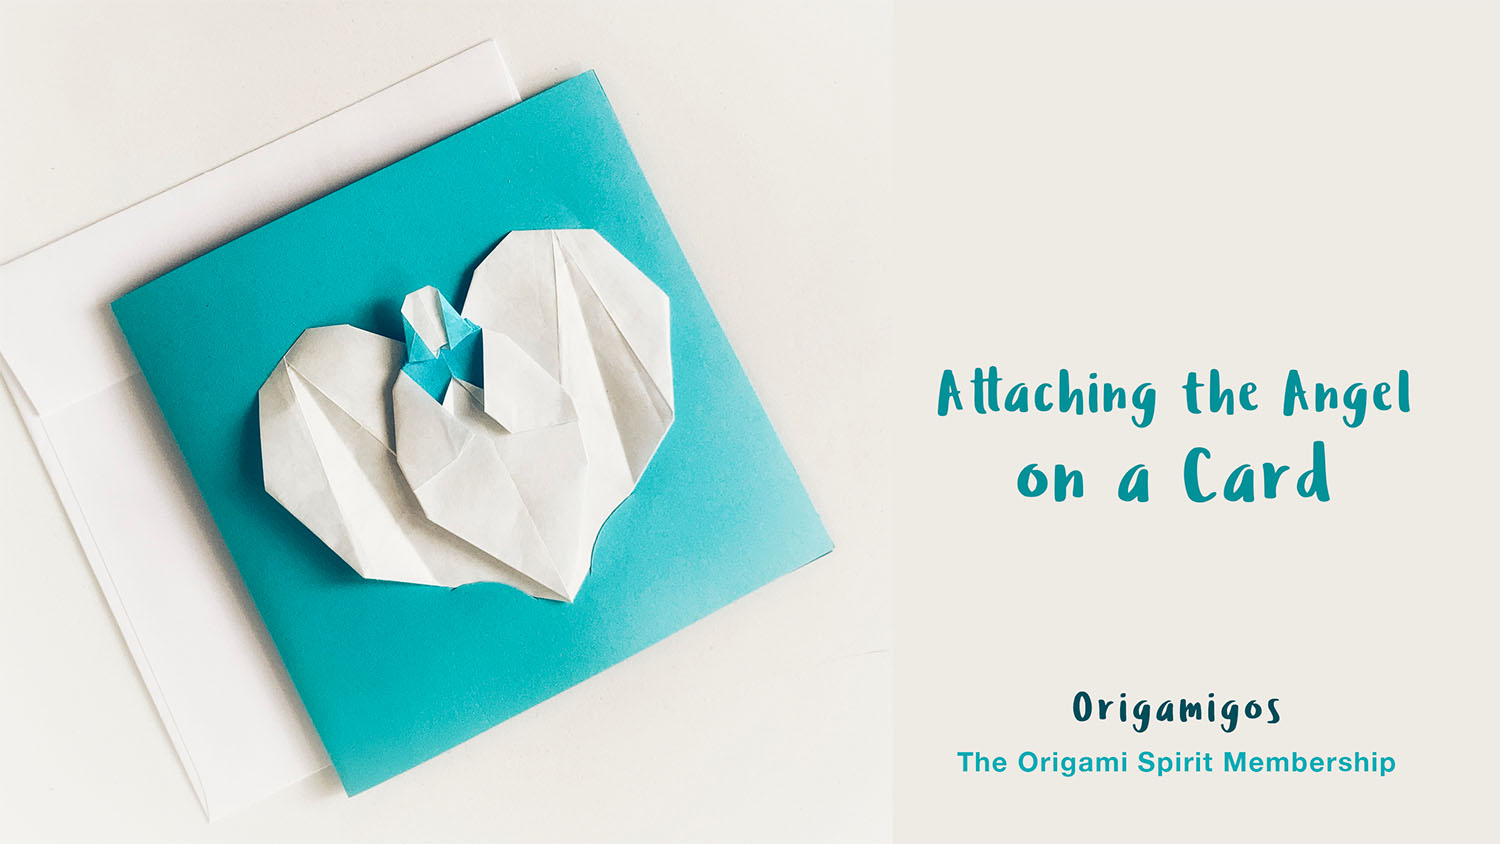
Unlike the origami archangel, the Guardian of Love lies completely flat, making it perfect for tucking into a wallet, journal, or pocket. It can be attached to a greeting card and mailed away.
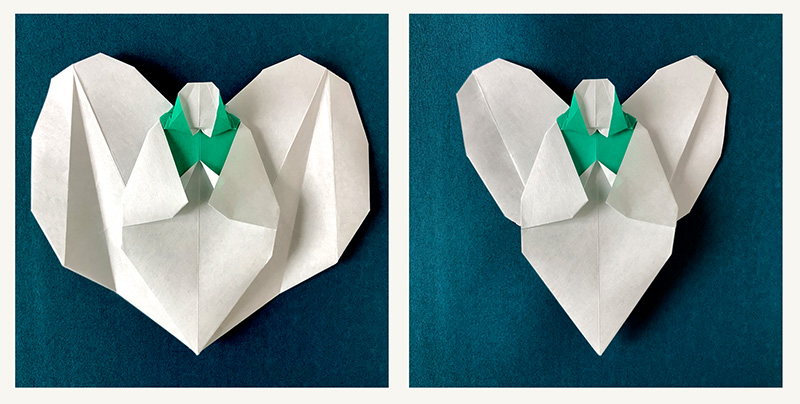
The angel’s wings can be gently opened and closed, allowing you to adjust the angel’s embrace as seen in the photos above.
Tips and suggestions for making the Guardian of Love
- ONE 6 x 6-inch (15 x 15 cm) square, white on one side and colored on the other side.
- Both sides of the paper will be visible in the finished piece, so consider your color choice accordingly.
- If you’re a fast folder, bring extra squares to make additional boxes.
Origami terms to note:
- Precrease: Marking the paper by folding and unfolding. When we precrease, we are setting the stage for later steps in the folding process. Precreases are usually made when we begin a set of folds.
- Reverse fold: to turn a fold from valley into a mountain or the other way around, mountain into a valley.
- Squash fold: it is when you pry open the paper slightly, then press and flatten the paper to make the fold.
- Lock: When locking occurs, an area of the paper is fixed at a particular configuration so that it stays in place and cannot easily be unfolded.
- Tab: A small flap or strip of paper used to insert into a receiving “pocket” to join or lock two elements of an origami model or to join modules in a multi-unit piece.
- Pocket: A hollow area that receives a fitting “tab” to join or lock two elements of an origami model or to join modules in a multi-unit piece.

If you are at the Apprentice Bee Stage (Stage 1) This model is not made with a traditional base, but it includes some basic origami folds such as squash fold, inside-reverse fold, and pulling out the paper. Make sure you are familiar with them. You can find instructions here in Origamigos as part of the Origami Basics Minicourse (Video #2).
Use a large piece of copy or printer paper (8 x 8 inches) for your first attempts. Making inside-reverse folds might be a small challenge if you are a novice. Be patient if your first attempts are not successful!
Also, you can practice by folding HORSE, which features similar folds and is suitable for greeting cards as well.

If you are at the Emergent Frog Stage (Stage 2) Keep in mind the previous recommendations for Stage 1. You might want to practice by folding this BIRD. Also, use plain color origami paper (kami), rather than patterned paper, so that it is easier to visualize the landmarks. Also, fold the Archangel model to study the process, which has a few similarities.

If you are at the Competent Goldfish Stage (Stage 3) Keep in mind the suggestions given for previous stages. When folding the Guardian of Love for the first time, be aware that one of the last steps, which consists of shaping the head, requires a little patience because they are small “pivot folds”. Be willing to try more than once.

If you are at the Ambassador Cat Stage (Stage 4) Experiment with different combinations of size, thickness, and papers that are colored and/or patterned. Share your results on our Facebook group and other social media channels.
Be mindful of how you present and photograph your finished models. Here are some PHOTOGRAPHY TIPS:
- For best picture results, make sure that your background is uncluttered, plain, and neutral in color.
- Avoid reflective surfaces unless you would like to include the reflection as part of your composition.
- Photograph your piece in indirect daylight.
- Overcast days and placing your model near a window are the best!

If you are at Pioneer Owl Stage (Stage 5) As stated above, the source of inspiration to develop the Guardian of Love was by modifying the Archangel model so that it could become a flat model.
• For creative ideas, refer to The Joy of Origami design course Module, 4 Section 4, Point of Departure #3: Blending Elements for ways of combining features of different origami models as a way to create new ones.
• After watching the video presented in this post, take the challenge of creating another model by using the same base as this angel. See minute mark 3:20.
Guardian of Love by Leyla Torres
. . . . . . .
Attaching the Guardian of Love to a Greeting Card
Share your folds in our FACEBOOK group. Remember that the purpose of sharing them is not only to show beautiful folds. You can also share your challenging attempts and ask questions. We are there to help each other!